

Remote recording has opened up many doors and opportunities to collaborate with people in every corner of the world. As connectivity continues to improve and the programs and tools that support it grow, it’s safe to say that remote recording is here to stay.
In this blog entry, we’ll walk through the key points in remote production -- from first steps to best practices -- so you can incorporate remote recording in your own podcast without missing a beat.
The Right Tools for the Job
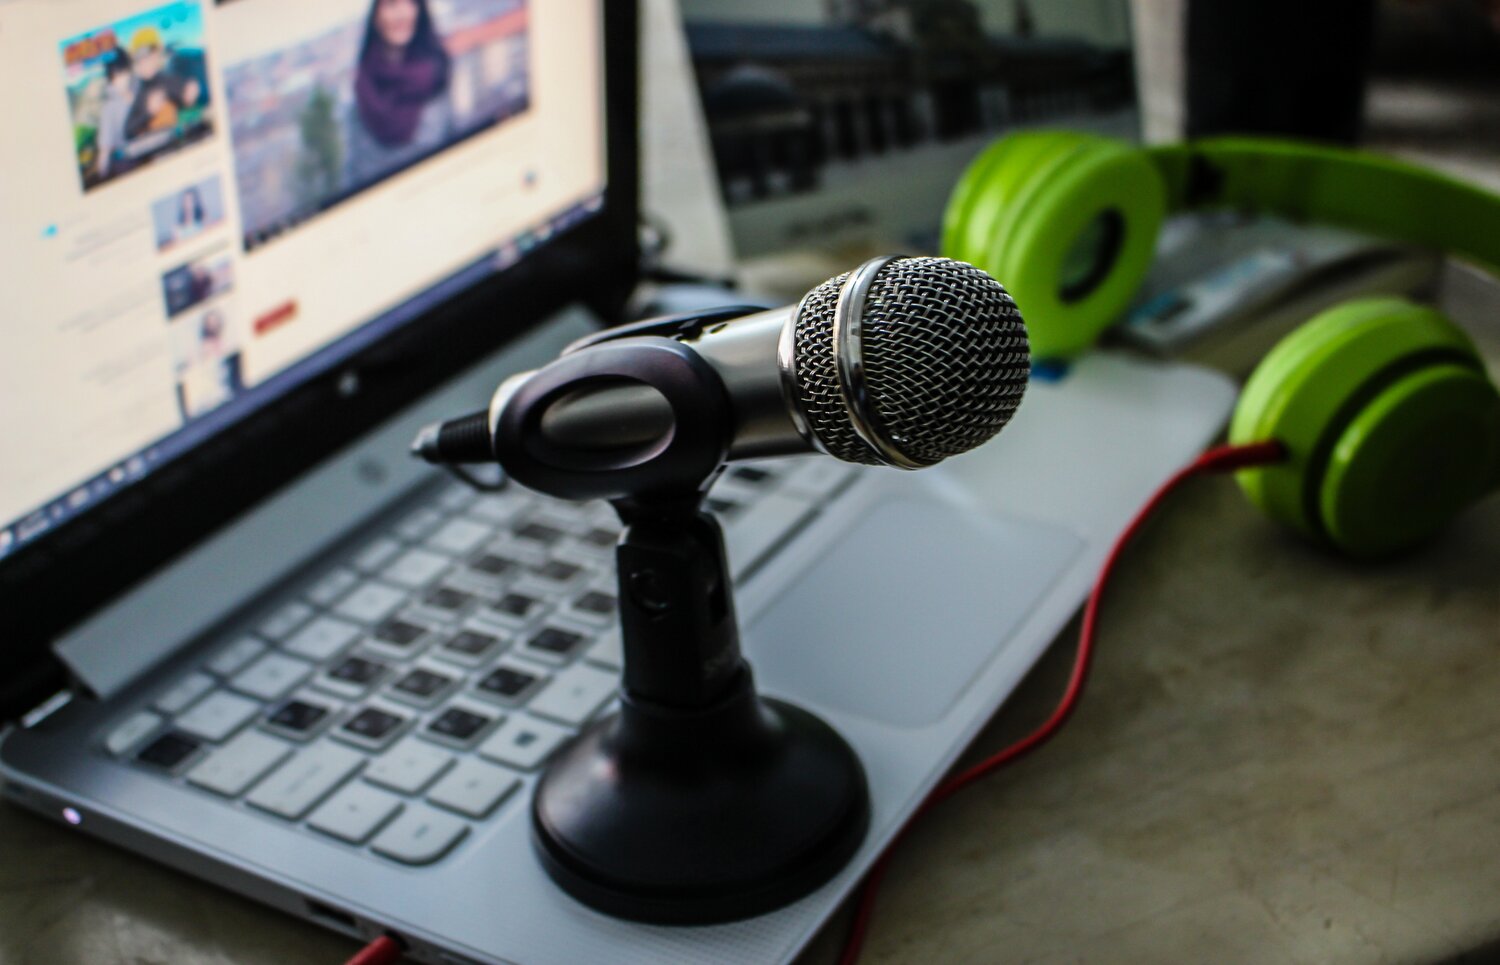
Getting the right equipment for what you want to create is essential. Luckily, a lot of gear today is incredibly versatile and can be used in a variety of situations. A basic setup will include:
- a microphone
- headphones
- a recording device
Let's look at each in a little more detail.
Microphones
There are two main options when selecting a microphone: a studio/regular microphone, or the newer USB microphone. A podcasting standard, the Shure SM7B is durable, handles a large dynamic range, and is made for recording the voice. To use a microphone like this one, you will have to use a piece of equipment called an interface. This allows the microphone signal to be converted to a digital signal that a computer can record. A very common interface for remote recording would be the Focusrite Scarlett 2i2.
The other option is a USB microphone. These microphones combine the interface and mic into one package and are designed to be connected directly to a computer. The Blue Yeti is a popular example and is used for a variety of content from podcasts to voiceover to live streaming. The benefit of the usb mic is its simplicity. Most are plug-and-play and require no software to be installed.
You will also need accessories like a mic stand and cables. These will vary based on the microphone, interface and setup. A common style of stand is called a table top stand, and can be placed directly on the desk or table if recording in that scenario. Another type is called a boom arm and attaches to the table with the ability to move the mic around very easily. The most traditional stand is the tripod mic stand.
Headphones
There are only two things to consider when selecting headphones: First is to make sure that they are “closed-backed” headphones. This style of headphones keeps what you are listening to from spilling into the room, resulting in less background noise when recording. This spill is often called “bleed”.
Second, make sure that the headphones have the right connection. Most headphone connections are nested and give you two standard sizes, but it’s worth double checking. The larger is a ¼” jack; the smaller is ⅛” jack.
Lastly, be sure to get a pair of headphones that are comfortable and stay on easily since you’ll be spending a lot of time with them on. A classic closed-backed headphone is the Sony MDR7506.
Recording Device
For most people, the recording device will be a computer. However, there is another option worth mentioning: A digital/field recorder is a small device that records audio (likely to a SD card) and acts as the interface and recorder for regular microphones. It will let you adjust the gain of the microphone and headphone volume and set recording specifications. A commonly used digital recorder is the Zoom H4N Pro, which is great for portability ‘in the field’ (think news correspondents).
Additionally, any modern desktop or laptop computer will be able to record audio. It’s important to make sure the equipment is compatible, but most recording setups have near universal compatibility. As for the actual recording -- that requires software, which we’ll cover in the next section.
Getting Connected
The type of podcast you’re creating can really influence what type of software you want to use. For example, there are plenty of built in applications that can record voiceover. For Mac, QT Player allows you to record high quality audio and comes standard. For Windows, Voice Record is the default. Both are simple programs that let you capture the signal of a single input.
But let’s say you are recording a conversation or an interview with several people (and this is where the new era of remote recording really shines). There are now several services available that act as an online recording studio. Some are specifically designed for recording; others grew out of expanding the capabilities of work meeting platforms. What they all do is capture the isolated audio for each person who comes to the “online recording studio”.
Let's look at a few examples:
Web based platform that has video and audio recording. Media is recorded locally and uploaded after capture. This avoids internet issues being “baked” into files.
Web based platform that has video and audio recording.
Web or app based meeting service that is very common. Can record video and audio.
Web based platform that can record video and audio. Squadcast has a four person limit per recording session.
Several web and app based services used by professional recording studios around the world.
You will want to pick a service that is the best fit for the style of your show. Zencastr, for example, provides an editor that removes long pauses from the recordings. Riverside is the best option for easy online recording that captures local audio (but it must be used with the Chrome web browser, so it’s always good to have a backup option you are familiar with).
Best Practices While Recording:
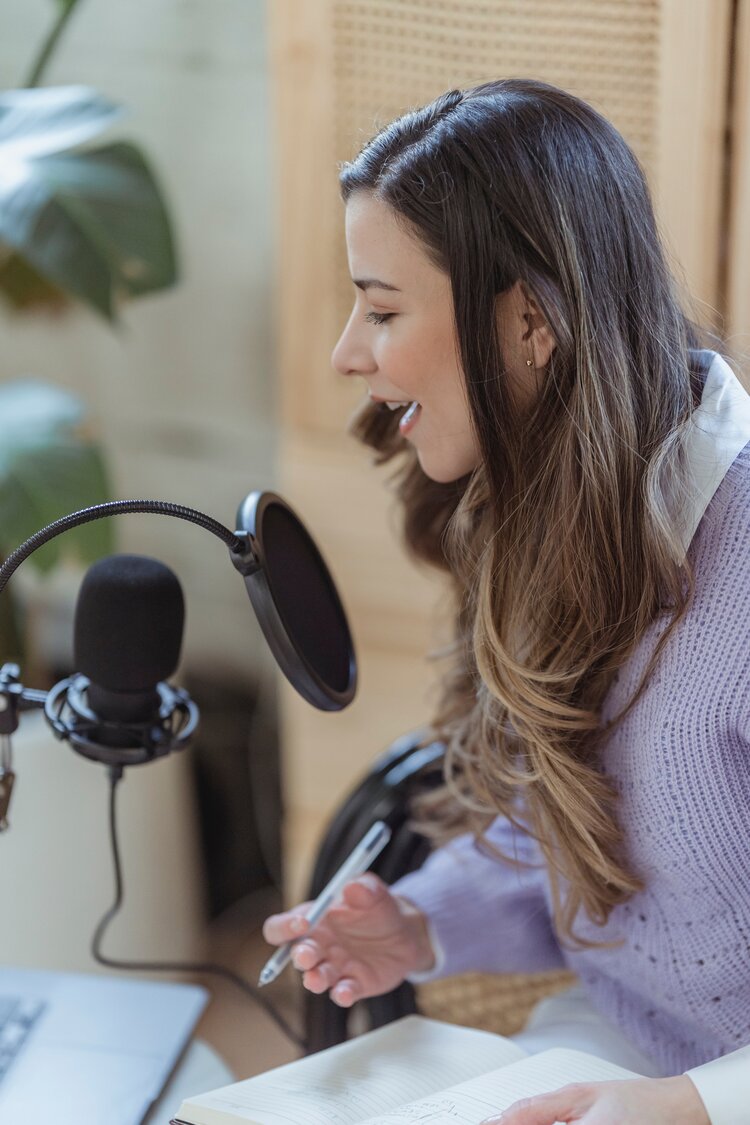
So you have the equipment, you’ve picked a recording platform and connected with the right people for your show...and now it’s time to record. There are some simple but very valuable things to keep in mind when recording.
First, and most importantly, is where you are recording. The best option is a room that is naturally quiet and ‘dead’ meaning very little reverberation/echo. A closet most likely offers the most ‘dead’ space in a house. Once you’ve selected your room, make sure anything that makes noise is turned off. Is there a fan? Are the windows open? Try to avoid recording near appliances. One additional piece of equipment that can be used is called a reflection filter or sound shield. This piece of equipment lets you block the sound from one direction resulting in a room that sounds “deader” than it really is.
Once you have a great space to record in, the next thing that makes the most noise is...us! Most people talk with their hands, which can cause several issues. Always be mindful of hitting the desk or table: even a small tap can be recorded as a large thump by the microphones if resting on the same surface. Jewelry can be another subtle troublemaker. A jangly beaded bracelet can sound like a musical shaker! Since a lot of these “noise makers” are everyday sounds, we often don’t pay attention to them and end up not hearing them.
Another important technical issue to consider is something called sync. With remote recording, everyone is in a different location with different internet connections and equipment too. As the goal is to get a file from each person with just their audio, it is important to be able to sync it all up afterwards. The simplest way to do this is to have everyone clap at the same time. “One, Two, Three…..Clap!” Line up the claps and all your files will be in sync.
One last best practice is testing the connection/setups ahead of time. The last thing anyone wants is to spend half the session fixing a problem instead of making an awesome podcast. Often these test connections only take a few minutes and can save everyone from having to rush through what they want to say. If the schedule/availability doesn’t allow for this, even five or ten extra minutes before the session can go a long way to getting things up and running.
Editing and Post Production
So you have all your files; now what? The post production process is where all of the audio will be synced, edited, and mixed -- and other elements will be added like music and sound effects. Depending on the style of the show, this can be a simple or complex process. All post production happens in a program called a DAW (Digital Audio Workstation) that has the ability to edit audio, add the music and export a master file. Some examples of DAWs are Pro Tools, Adobe Audition, Logic or even Garageband. And as with anything, each has a varying degree of capability and complexity.
Conclusion
Remote recording is a way to expand the reach and scope of any podcast, but it’s important to get the foundational aspects right to ensure a top quality production. The sections above are a great starting place to get the overall idea of how remote podcasting works from start to finish. There are also many great resources available to expand your knowledge about podcasting and recording. Some examples are Sound on Sound, Pro-Tools Expert and Gearspace. Happy Podcasting!